

Imprimir STL Lanterna Suica Solar Modelo 3D - 2865431
Things 3D Fila
Lanterna Suica Solar
Gadgets
Se você ainda não tem uma máquina para imprimir este arquivo pode comprar uma impressora 3d aqui!
Você pode imprimir este modelo 3d com estes filamentos ou com estas resinas 3D.
Sobre o objeto 3D Lanterna Suica Solar
Este é um arquivo desenvolvido e projetado com ferramenta CAD.
Se você ainda não sabe criar seu próprio modelo 3D eu te ensino neste artigo tutorial sobre Tinkercad.
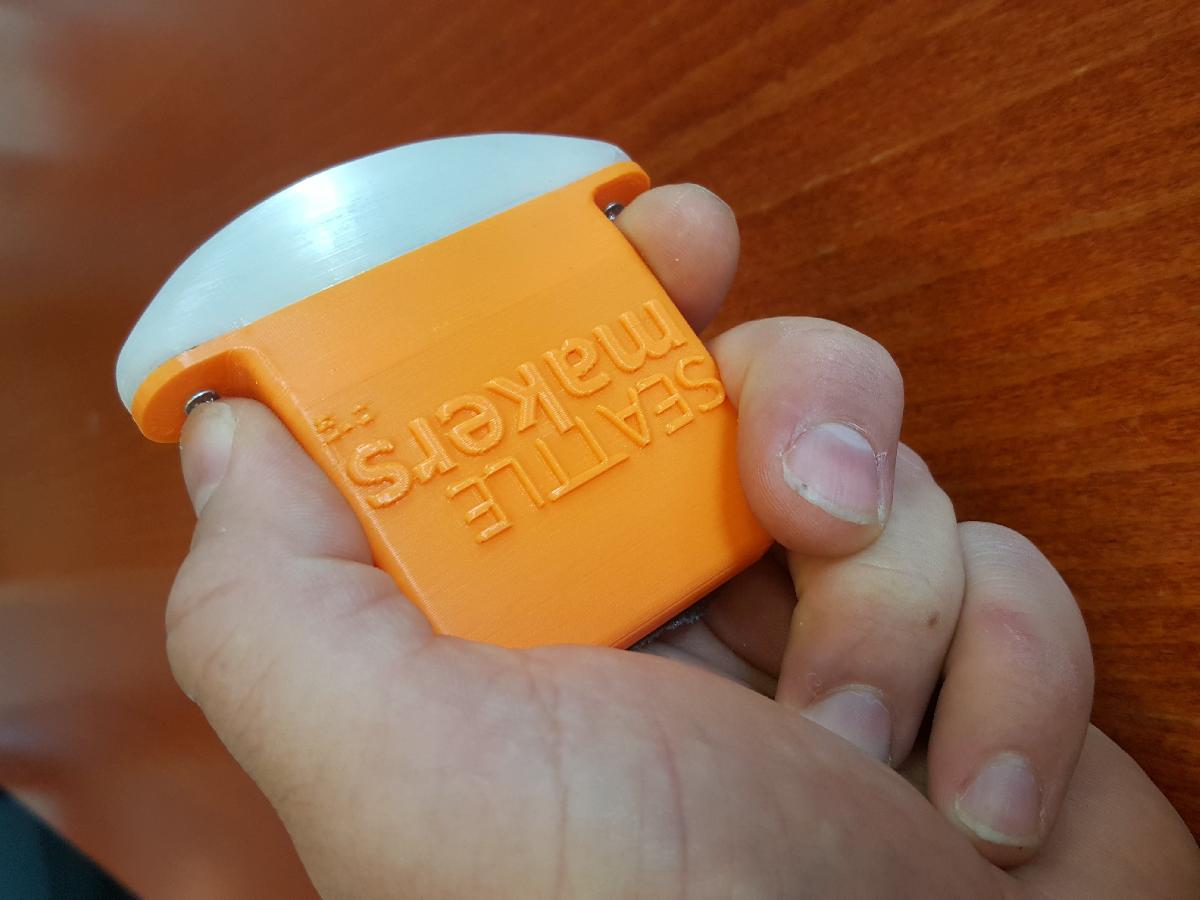
Lanterna Suica Solar foi projetado para Impressora 3D. Easily make anything solar, with the Solar Swiss Army Light.Using the guts of a dollar store solar path light, the solar charger "backpack" can be added to custom path lighting or print out the flashlight attachment and make an easy fun project for kids.Check out the EasilyBuild profile page for more attachments.Important- Select the correct solar panel shapeMost solar lights have are rectangular, but I have seen some square ones too.Tools Requires:Soldering ironHeat gunHot glueSmall screw driverInstructions:Remove all the screws from the $1 solar light- Save the screws!Cut the wires leading to the and as close to the solar panelUse a heat gun to heat the back of the solar panel.Use the small screw driver to gently push the solar panel off .Once removed, heat the panel, and remove hot glue residueStrip the wires leading to the solar panel and thread them through the 2 holes on the solar charging backpack.Solder the solar panel to the wires. Positive and negative are indicated by a - or + on the back of the panel.Apply a small bead of hot glue to the center of the solar charger insetInsert the solar panelInsert the battery terminals in the side slots. Wires facing downUse the smallest screw to attach the led circuit to the flashlight attachmentInsert batteryFinally screw the flashlight attachment to the solar backpack.Done!
Não deixe de imprimir e compartilhar este modelo 3d. Não deixe sua impressora 3D parada. Mas se você não tem uma impressora 3D ainda, escolha a sua agora.