
Imprimir STL iron giant Modelo 3D - 1191021
Things 3D Fila
iron giant
Brinquedos e Jogos
Se você ainda não tem uma máquina para imprimir este arquivo pode comprar uma impressora 3d aqui!
Você pode imprimir este modelo 3d com estes filamentos ou com estas resinas 3D.
Sobre o objeto 3D iron giant
Este é um arquivo desenvolvido e projetado com ferramenta CAD.
Se você ainda não sabe criar seu próprio modelo 3D eu te ensino neste artigo tutorial sobre Tinkercad.
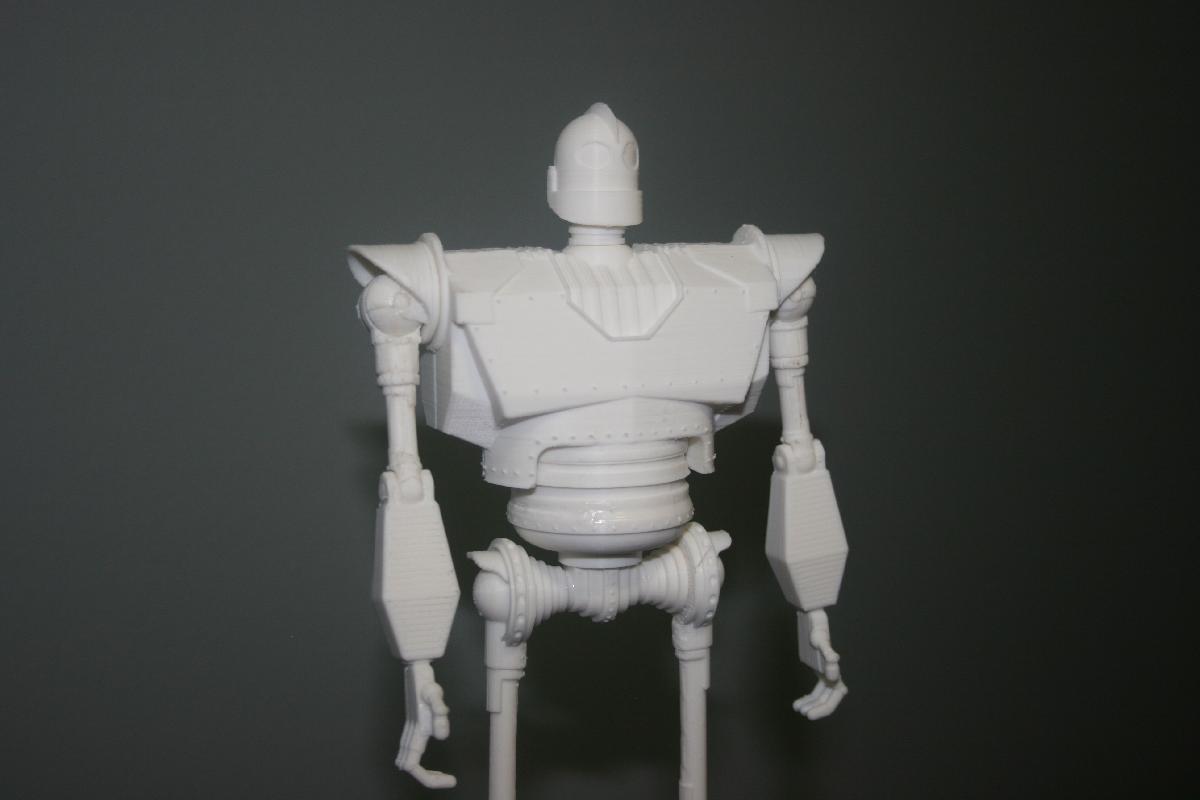
iron giant foi projetado para Impressora 3D. My friend's son loves Iron Giant. They asked me to make him one. I found this model on GrabCad (https://grabcad.com/library/iron-giant-1) and modified to it be printable. with articulating arms and head and waist.NOTE: I FORGOT THE SHOULDERS. They have been added now. I also uplaoded models that are oriented properly to print as I feel is best. EDIT: Due to popular request, I added parts without the supports.Parts:HeadUpper torso frontupper torso backlower torsohip (x2)left legright legfore armsupper arm (x2)shoulder pin (x4)Printing:Orientation of the prints is important. The upper arm and legs in particular should to be printed laying down to get the greatest strength. Then legs have supports in the model that work pretty well but do leave some scarring (sorry). Assembly:You will need some glue (super glue works great). Clean the parts well before assembly. I included supports in many of the models. where holes are printed vertically I added supports that will need to be punched out with a screw driver or pried out with pliers. Many of the supports will pull right off, but you may want to clean up the edges with a razor. arm assembly: to assemble an arm you need a shoulder, shoulder pins (x2), upper arm, and lower arm. after cleaning up the prints pin the shoulder to the fat end of the upper arm. You may need to sand the pin down. DO NOT FORCE THE PIN! It will break the should (i speak from experience) after pushing in the pin I put a few drops of super glue on the outside ends of the pin to glue the pin to the shoulder piece. If you use too much glue you could immobilize the joint. Then pin the lower arm to the upper arm. the pins are long for the elbow joint. I carefully used a razor to cut off the extra material. Then glued the outside ends of the pin to the lower arm piece. Again not too much.waist assembly: You need the 'lower torso' and two 'hips'. Before you glue these together do a test fit. You may need to shave of the tip of the hip so they can both fit flush against the...crotch...of the lower torso. Once you are sure they fit flush glue them well. Especially the the interface between the hip and the crotch. The one you made flush. This is a weak point. Torso assembly: The Head arms and waist will all fit into the Upper torso pieces. DO A DRY FIT FIRST! make sure the joints all rotate well. Clean off the joints where necessary. I also had to clean up the interface between the two upper torso parts to get a good clean seam between them. Once you are comfortable with the fit, glue it up. Be sure to keep glue away from joints.Leg assembly: Do a dry fit. Alignment is crucial if you want it to stand on it's own two feet. Then glue them up. You are Done! Enjoy
Não deixe de imprimir e compartilhar este modelo 3d. Não deixe sua impressora 3D parada. Mas se você não tem uma impressora 3D ainda, escolha a sua agora.