Imprimir STL Capa para D300VS Modelo 3D - 2823918
Things 3D Fila
Capa para D300VS
Peças para impressoras 3D
Se você ainda não tem uma máquina para imprimir este arquivo pode comprar uma impressora 3d aqui!
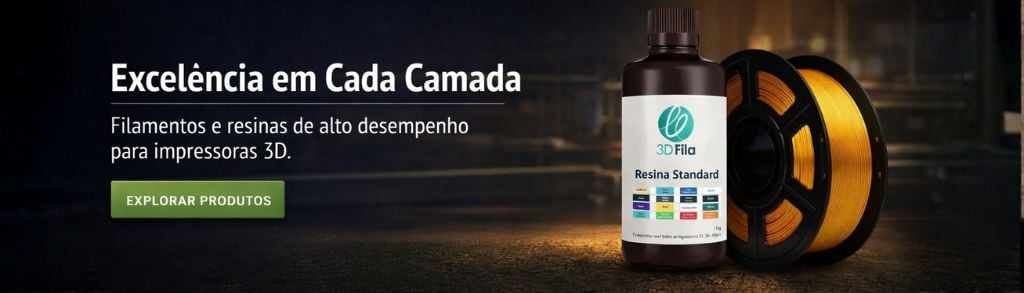
Você pode imprimir este modelo 3d com estes filamentos ou com estas resinas 3D.
Sobre o objeto 3D Capa para D300VS
Este é um arquivo desenvolvido e projetado com ferramenta CAD.
Se você ainda não sabe criar seu próprio modelo 3D eu te ensino neste artigo tutorial sobre Tinkercad.
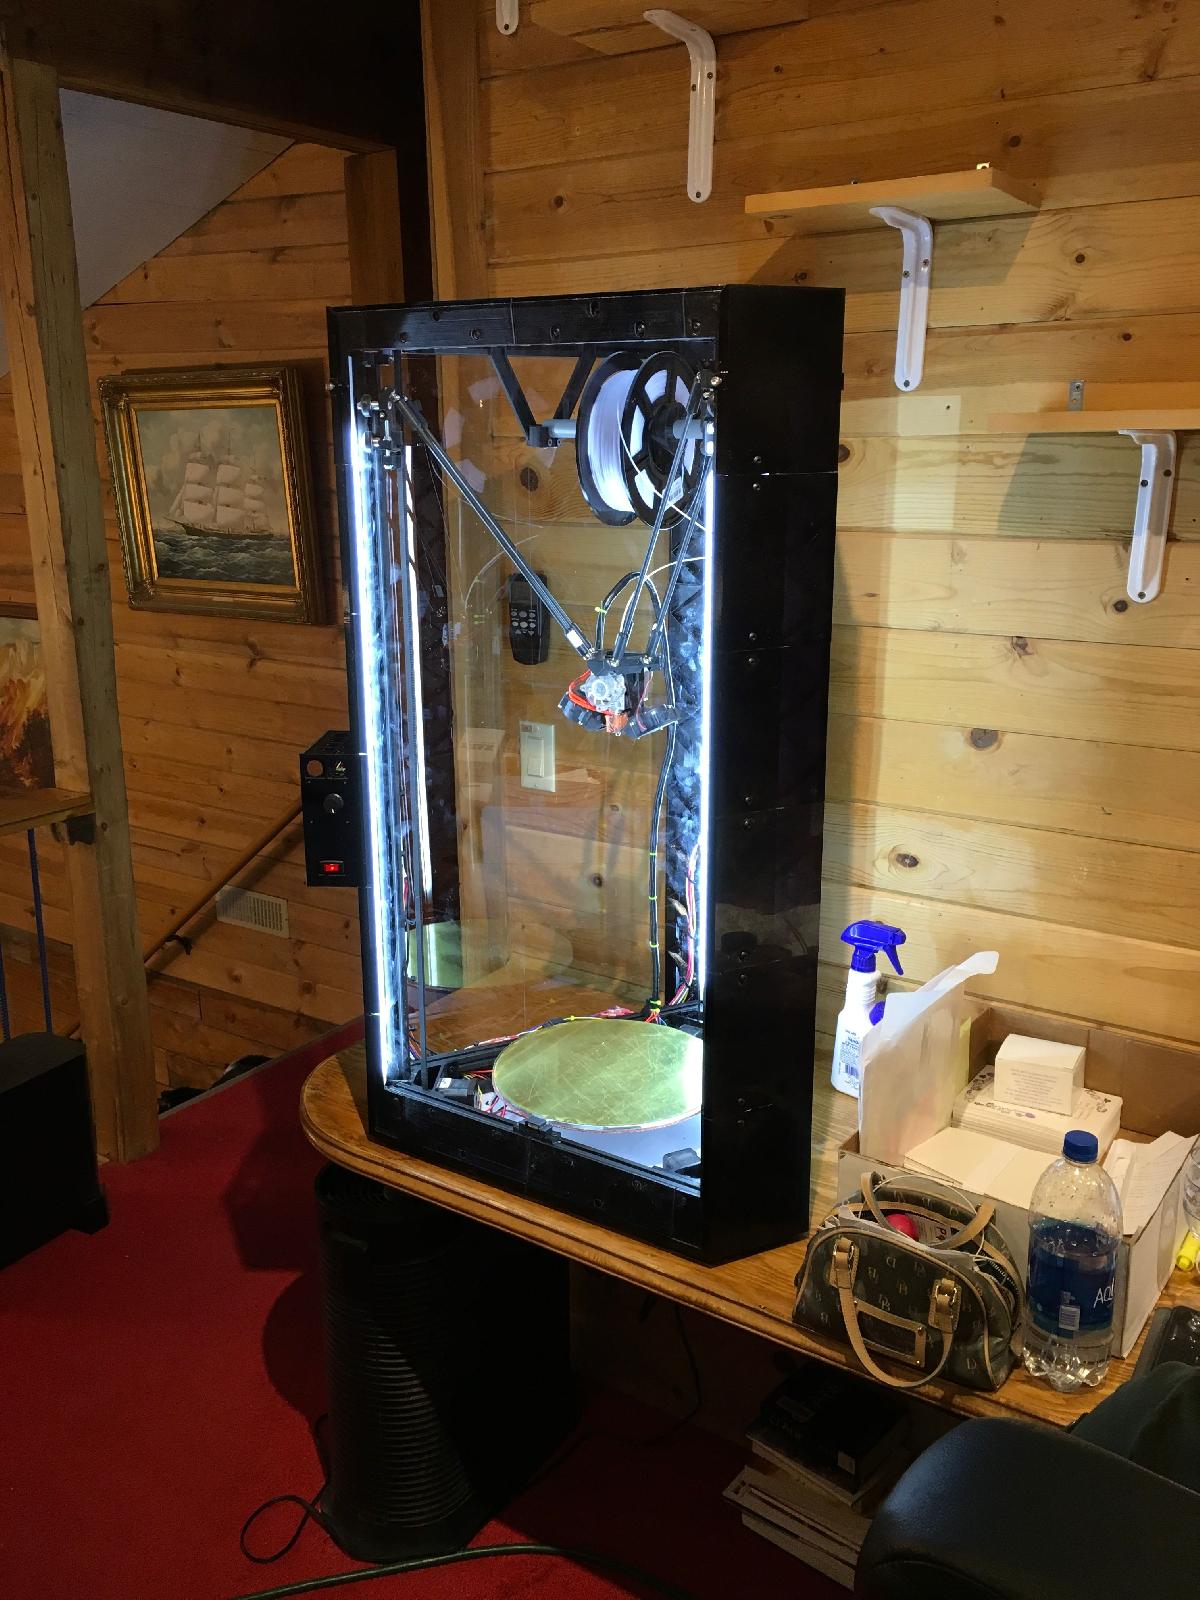
Capa para D300VS foi projetado para Impressora 3D. These are the STLs for a case I printed for my D300 VS. It has a few problems:1) the front plexi-glass is too close to the print bed to allow my Titan Aero to come all the way to the front of the bed.2) the PSU mount I printed doesn't leave adequate room for the wiring, so I haven't included it in the files3) I haven't designed a handle to open the doors yet4) the doors slide up in single sections, so it takes a lot of space vertically.5) the door latching mechanism isn't great, you hold the panels up by tightening screws into them6) the screw holes are a little snug7) there isn't quite enough room for the corner brackets, so the bottom doesn't come together snugglyI printed it in PETG XT 3D Fila. If I decide to redo it, I will print it in ABS, which will be easy now that I have a good case! The pieces are printed with the larger, flat sides down. It may be possible to print them vertically so that you can put more than on piece on the bed at a time. If I redo it, it will be designed to print vertically.This case moves the controller outside the case, to allow better cooling. The plexiglass is 2-3mm thickness polystyrene purchased from home depot in 2'x4' sheets. The case should be assembled first, then the plexiglass should be cut to measure. I used 3mm plastic insulated panels for the top and bottom.The air inside the case gets up to around 40ºC when the heat bead is set at 100ºC. Additional ventilation is not needed, because the heat conducts through the plexiglass panels. For higher temperatures, you would need to replace some of the plexiglass sides with insulated panels, or add a chamber heater.The diffusors should be printed in clear, translucent, or white filament. The lighting requires about 5m of LED light strips. It is important to print the diffusors with no perimeters (solid infill only) so that they hold together well. Also, for best results the solid infill should have at least 4 directions (0º, 45º, 90º, and 135º, for example) otherwise the light will make star pattern instead of being fully diffused. I installed a dimmer switch, and white lights, but I think it would be cool to get multi-color lights and a color controller. You definitely have to be good with a soldering iron if you are assembling the strips yourself. Otherwise, you could buy 6 pre-terminated 1m strips and cut them to the correct length.I have worked out a lot of design improvements, so if you are interested in printing this, let me know and if there is enough interest I will do an improved version.
Não deixe de imprimir e compartilhar este modelo 3d. Não deixe sua impressora 3D parada. Mas se você não tem uma impressora 3D ainda, escolha a sua agora.