Pintor de Ovos Mini (derivado do Eggbot) v1.1
DIY
Se você ainda não tem uma máquina para imprimir este arquivo pode comprar uma impressora 3d aqui!


Você pode imprimir este modelo 3d com estes filamentos ou com estas resinas 3D.
Sobre o objeto 3D Pintor de Ovos Mini (derivado do Eggbot) v1.1
Este é um arquivo desenvolvido e projetado com ferramenta CAD.
Se você ainda não sabe criar seu próprio modelo 3D eu te ensino neste artigo tutorial sobre Tinkercad.
Pintor de Ovos Mini (derivado do Eggbot) v1.1 foi projetado para Impressora 3D. This is a low-cost (only $10 for Chinese electronics parts) modification of EggBot, printable 3D printers that accept large.LinksYoutubeVideo First LaunchGithubOriginal EggBotCADAssembly kitsYou can buy a complete assembly kit - this.The list of parts to print1 x 0000001. Case_Bottom1 x 0000002. Case_Top1 x 0000003. Logo2 x 0000004. M5_Nut_Holder1 x 0000005. Axis_R1 x 0000006. Spring_Holder1 x 0000007. Axis_R_Holder1 x 0000008. Axis_R_Lock2 x 0000009. М5_Bolt_Holder_Bottom2 x 0000010. М5_Bolt_Holder_Top1 x 0000011. Axis_L_Holder1 x 0000012. Axis_L1 x 0000013. Hand_Holder1 x 0000014. Hand_Holder_Guide1 x 0000015. Hand_Holder_Guide_Case1 x 0000016. Hand_H1 x 0000017. Hand_V1 x 0000018. Case_RightNon-printable parts2 x 608zz Bearing1 x 24mm Silicone or Rubber Gasket1 x 15mm Silicone or Rubber GasketScrews&Nuts1 x Spring Diameter 9-15mm Length 17-20mm1 x 2x18mm Iron Nail without a hat or Rivet2 x M5x20 Bolt2 x M5 Nut8 x M3x10 Screw5 x M3x16 Screw12 x M3 Nut4 x M3 Washer12 x M2x5 ScrewElectronics1 x Arduino UNO2 x 28byj-48-5v Stepper Motor + ULN2003 Stepper Motor Driver Board1 x SG90 Micro Servo1 x USB Cable for connect to PCA few wiresAssemblyVideo Assembly InstructionsAssembly Instructions PDFAssembly in 3DAssembled Egg PainterFirmwareAs the firmware used Eggduino. It's arduino firmware for EggBot / Spherebot with Inkscape-Integration (Github).For Installation:1) Download and unzip Firmware.zip.2) For UNO board with CH340G download and install driver: http://www.wch.cn/download/CH341SER_ZIP.html.3) Download the ARDUINO IDE and install it.4) Run the software. Select the Arduino UNO board and the proper COM PORT (should be COM5 or so) in the menu "Tools->Board"…5) Open Eggduino.ino from Firmware.zip and upload the Eggduino code to your Arudino Uno. Controlling programAs the controlling program used Inkscape software.1) Download and unzip the Inkscape software Software_inkscape+extension.zip.2) EggBot Control Extension already included in the Inkscape from Software_inkscape+extension.zip.3) Run the software. The EggBot Control extension for Inkscape is the tool that you will use to help you test and align the EggBot, as well as transfer your drawings to an egg. Once Inkscape is running, you’ll have an Extensions menu, and on that menu will be a submenu labeled Eggbot. If the Inkscape does not connect to the device, please check name of your Arduino in to device manager. And change it in ebb_serial.py on line 52 instead of "USB-SERIAL CH340".Use template EggBot (File->New from Template) for your drawing.
Baixar
Não deixe de imprimir e compartilhar este modelo 3d. Não deixe sua impressora 3D parada. Mas se você não tem uma impressora 3D ainda, escolha a sua agora.
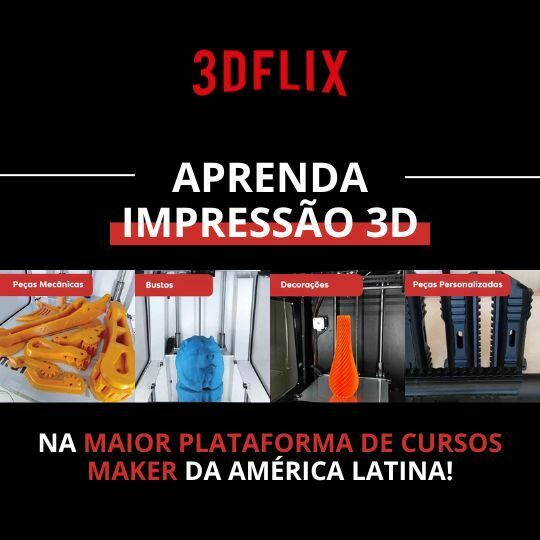
Curso Online de Impressão 3D
Agora, se você está procurando um curso online para aprender Modelagem 3D, Impressão 3D, programas de fatiadores 3d, e ter acesso avários outros cursos makers relacionados, indicamos a 3D Flix, que pode ser acessado AQUI.